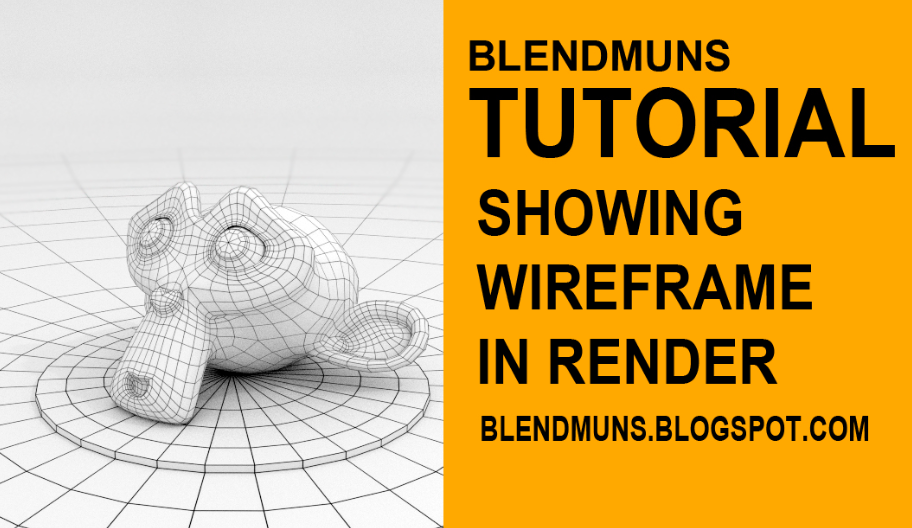
Hello everyone who wants to learn blender 3d, this time we will learn with regard to rendering renders that we will learn about the tutorial or how Rendering along Wireframe or lines mesh object that appears rendered, Wireframe is a form of mesh / object displays vertex, Edges and Faces as in edit mode blender 3d, Let us discuss the tutorial
The first step: Suzanne Mesh
Open the application Blender 3d, When it was ready to remove the mesh cube by pressing the "X" on the keyboard, and replace it with a cube-shaped Mesh Mesh Suzanne or Monkey because we learned with the mesh but you could also begin with other Mesh.
Mesh picture suzanne or Monkey
Step two: Smoothing material
Puree with pressing option "Smooth", and move on to the property select the tab and select Subdivision Surface Modifier and change view and render to 1. Do not press Apply first
Puree with pressing option "Smooth", and move on to the property select the tab and select Subdivision Surface Modifier and change view and render to 1. Do not press Apply first
Step three: Coloring material
In the property area click the Material tab which is shaped like a ball, Then click the Use Nodes and apply nodes as shown below
Nodes Apply the following, the most important thing is the use Wireframe Nodes you can also do not need to use these nodes, In Diffuse Nodes 1 (RGB: # C3C3C3), diffuse 2 (#CFCFCF) You also allowed to have fun with them alone
Nodes for suzanne mesh click the image to enlarge
Step four: Addition wireframe
In step Modifier add Wireframe on the tabs, change the thickness becomes 0.0025 and uncheck Replace original and change the Offset becoming Material 2, Material offset is useful to give color wireframe outline Material offset this means two colors line the second material is the material of the mesh suzanne
In step Modifier add Wireframe on the tabs, change the thickness becomes 0.0025 and uncheck Replace original and change the Offset becoming Material 2, Material offset is useful to give color wireframe outline Material offset this means two colors line the second material is the material of the mesh suzanne
Remember Laying wireframe should be under
Subdivision Surface, Material Offset 2 "Garis" for the color
wireframe
Subdivision Surface, Material Offset 2 "Garis" for the color
wireframe
suzanne already installed wireframe
and has been in smooth and Subdivision surface
and has been in smooth and Subdivision surface
After that add new material and name it "Garis" material is called Material offset 2 for the 1st named Material white.
In the Material named "line" set RGB be # 525252
In the Material named "line" set RGB be # 525252
Material Offset 2 "Garis" for the color
wireframe
wireframe
Last: Rendering
Below is the rendering of such tutorials, setup of the camera is here, and you should know lighting techniques, and is behind a mesh with the above techniques
Below is the rendering of such tutorials, setup of the camera is here, and you should know lighting techniques, and is behind a mesh with the above techniques
Final rendering with lighting techniques, camera technique
and photoshop
and photoshop
That is little tutorials, may be useful and I hope you are happy and not confused yes, if there are problems with this tutorial please leave a comment


Comments
Post a Comment